educational tips
A Basketball Bounce Experiment for Kids: Measure, Graph, Compare
LitZone Team · Oct 18, 2026
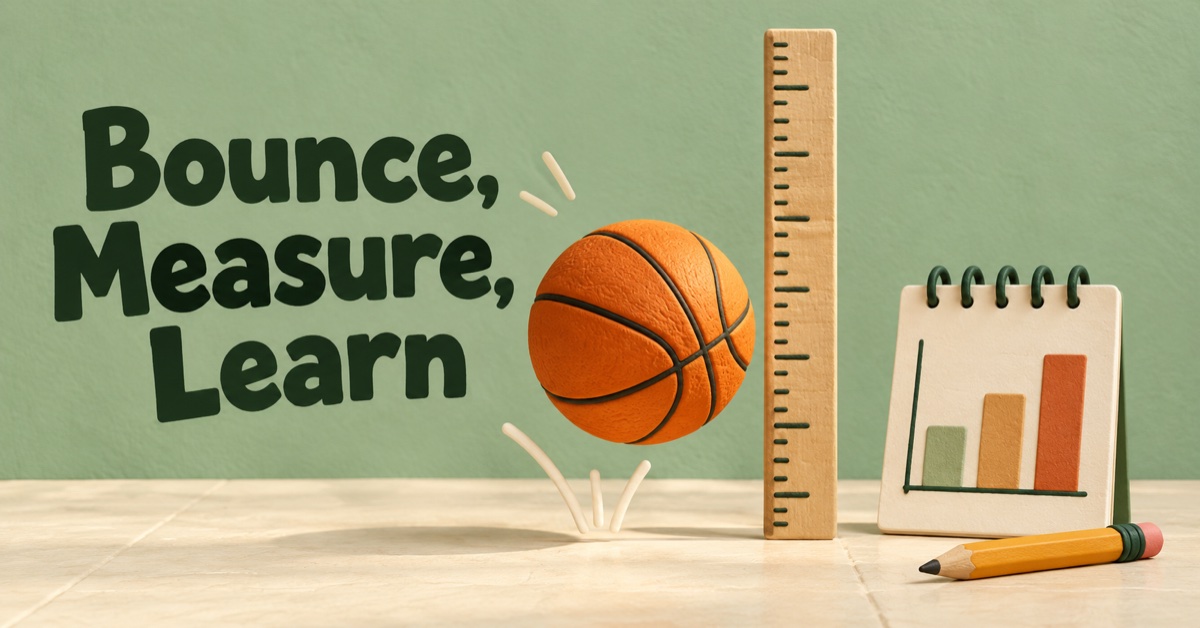
A basketball bounce can become a small investigation: choose a question, keep the setup consistent, measure what you can, and describe what the results actually show. The activity is about careful observation, not finding a perfect number on the first attempt.
This family experiment compares the same ball released from two different heights. It includes repeated trials, a record sheet, graphing, and an optional average calculation. The example numbers are fictional practice data. Your family's measurements should be recorded separately and labeled with the conditions you used.
Download the basketball bounce experiment sheet and answer key. It includes a planning guide, space for six measurements, and two practice questions. The mixed activity can be adapted for grades 3-6: younger learners can record and compare, while learners ready for division can calculate averages.
Choose a question you can investigate
Use a specific question: "For this ball on this surface, how do the bounce measurements compare when we release it from two different heights?" That wording identifies what changes and keeps the conclusion tied to the actual setup.
A much larger question, such as "How does every basketball bounce?", cannot be answered by six measurements from one ball. You would need different evidence to make that wider claim. Children can practice making the question small enough for the materials and time available.
Before beginning, write a prediction. For example: "I predict that the higher release will produce the higher bounce in our setup." A prediction is an idea to check. It should not be copied into the results column as though it were already an observation.
Ask the child what would count as evidence that the prediction needs revising. This keeps the activity open to the numbers that appear. The goal is to record the result honestly, including a result that surprises the group.
Set up with an adult
Use one basketball, a securely positioned measuring tape or ruler, paper, and a pencil. An adult should choose a clear, dry, level space with room around the bounce. Stay away from people, breakable objects, traffic, stairs, and slippery areas.
Select two release heights that are easy to reach while standing normally, and keep both below the child's shoulder. Do not climb on furniture or ladders. If a basketball is too difficult to control in the available space, choose a smaller suitable ball and label the investigation with the ball actually used.
Keep the measuring reference beside the bounce area and outside the ball's path. Agree on one reference point on the ball before taking measurements. For this activity, measure from the floor to the bottom of the ball at release and at the top of its rebound.
An adult can observe from a consistent side position or help record a short video from a fixed place. Recording is optional. If you use a camera, frame the ball and measuring reference without including people who do not need to be in the recording.
Change one condition at a time
Keep the same ball, surface, measuring reference, release method, and observation position for both sets of trials. Release the ball without adding a push. The chosen difference between the two sets is release height.
If you change the ball and the floor at the same time, a difference in the results will be harder to interpret. You will not have a simple comparison that separates the effect of one chosen change from the other changes.
Write the conditions beside the record. "Same orange basketball, dry indoor floor, bottom-of-ball measurements" gives a future reader more information than a row of unexplained numbers. It also helps your group notice if the setup changes partway through the activity.
Repeat each release three times. If a trial is interrupted, record what happened. You can repeat an interrupted trial, but explain why it was excluded rather than quietly removing a number because it does not match your prediction.
Measure and record carefully
A bounce is quick, and an observer may not identify its highest point exactly. Record estimates to a sensible level of detail. A measurement such as "about 25 centimeters" can be more honest than reporting many decimal places that the setup cannot support.
Use the same units throughout. If you begin in centimeters, keep all six bounce heights in centimeters. Include the unit in the column heading and in any written comparison. Do not mix an inch measurement with a centimeter measurement without clearly converting it.
Write each measurement immediately after the trial. After the first three trials, pause and check that the release height and bounce height are in the right places. They are different measurements, even though both describe a height.
Then complete three trials at the second release height. Keep the earlier data visible. The child can compare the two groups without needing to remember every number.
Calculate with a fictional example
Suppose one practice set has rebound measurements of 24, 27, and 24 centimeters. These numbers are invented to show the method. Their sum is 75 centimeters. Dividing 75 by 3 gives a mean rebound height of 25 centimeters.
The range is the largest value minus the smallest. Here, 27 - 24 = 3 centimeters. The range describes the spread within this small set of measurements. The mean and the range answer different questions, so label each clearly.
Imagine a second fictional set of 35, 37, and 36 centimeters. Its mean is 36 centimeters because 35 + 37 + 36 = 108 and 108 / 3 = 36. Its range is 2 centimeters. The difference between the two means is 11 centimeters.
Those calculations describe the invented numbers. They do not establish what your ball will do. If your observed results differ, use your own measurements and show the arithmetic that belongs to them.
Draw a graph that another person can read
On graph paper, label the horizontal axis with the two release heights and the vertical axis with bounce height in centimeters. Plot all three measurements for each release height. This shows the individual trials instead of hiding every difference inside an average.
Choose a vertical scale that includes the full set of numbers. Count by equal steps. A scale that moves by two centimeters in one section and five in another can make the picture misleading unless the change is explicitly shown and explained.
A younger child can make a simple two-column list and circle the largest value in each group. A learner ready for averages can add a separate comparison of the two means. Use a title that identifies the ball and the comparison, such as "Our Basketball Bounce Measurements."
Write a conclusion with a limit
Use three parts: what you observed, the numbers that support it, and one limitation. A possible sentence for the fictional example is: "The second group had a higher mean, 36 centimeters compared with 25, but these were only three trials at each height."
For real observations, a limitation might be difficulty seeing the top of the bounce or a small difference in how the ball was released. Naming the limitation does not erase the work. It tells the reader how carefully to interpret it.
Finish by suggesting one change to the measuring method that would make a future comparison clearer. Keep that future idea separate from the results already recorded. For more original number practice using a sports context, explore our basketball math activities and basketball score sheet.
Built for ages 8–13
Playing fantasy football with your kid?
Give them a team of their own, with kid-friendly football, reading, and math in one place.
Create their first fantasy team free

Ad-free. No chat. Built for kids.